Treat anything on Discord as media that will be lost
Do not use Discord to host your files. Do not rely on Discord to preserve your text. DO NOT RELY ON DISCORD FOR ANY KIND OF PRESERVATION OR HOSTING!!
It CAN be lost, it WILL be lost! You must consider Discord as a part of the Core Internet, controlled by one company that hosts the servers.
I thought it was impressive at first that it replaced IRC, but now I am horrified. If the company behind Discord went under today, how many friends would you lose?
How many relationships? How much writing?
You may think this won’t happen, but I remember when AIM went down and along with it, entire novels worth of interaction with my oldest friend.
IT CAN HAPPEN TO YOU. IT WILL HAPPEN AGAIN. NO COMPANY IS INFALLIBLE.
Back up your files! Download anything you’ve saved to Discord NOW, before the API changes go into effect! And DO NOT RELY ON THEM FOR HOLDING IMPORTANT FILES!
How to archive a Discord channel
I’m going to say this way ahead of time: this is going to be waaaaaaay more of an annoying process than it should be. Discord should allow exporting the channel history to server owners, without the need of doing all this. I won’t blame you if you give up.
Get the DiscordChatExporter application to download the chat history
This program has two versions
- one that has a graphical interface, but works on Windows only
- one that has a command line interface, but works on Windows, Linux and macOS
This guide covers the first. The second one maybe next time, in another post. The second version also makes it easier to download every channel on the server.
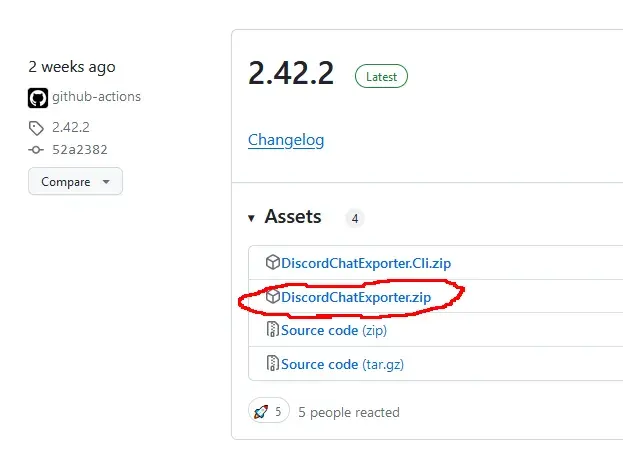
Step 1: Go to here, and download the latest version in the zip file named DiscordChatExporter.zip
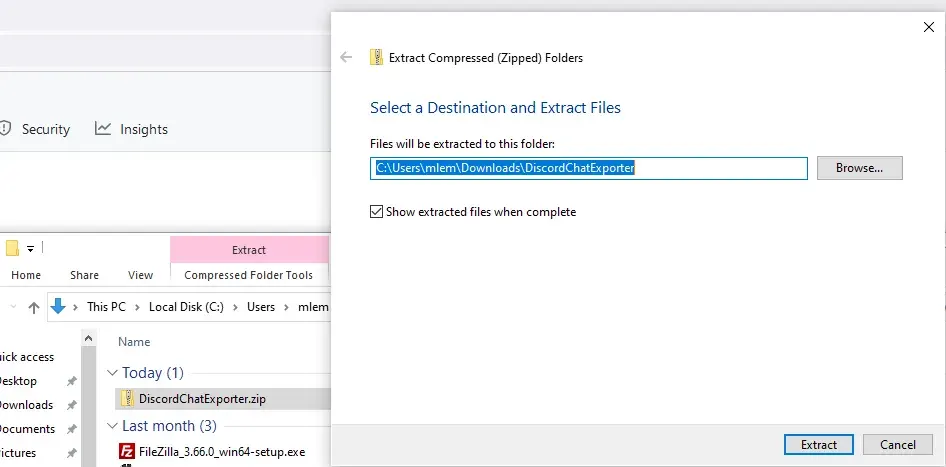
Step 2: Unpack the zip file
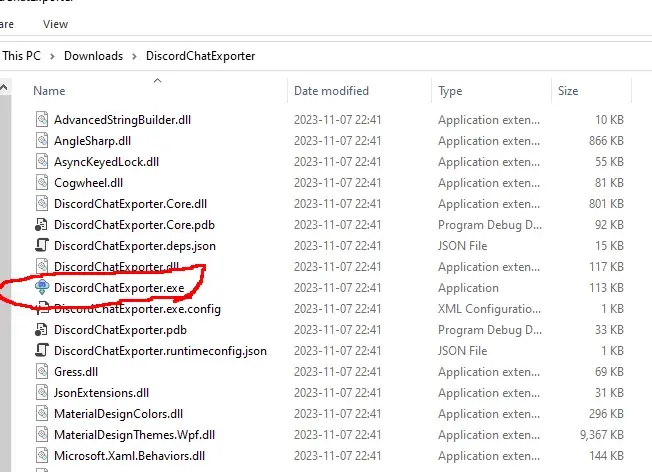
Step 3: Run DiscordChatExporter.exe
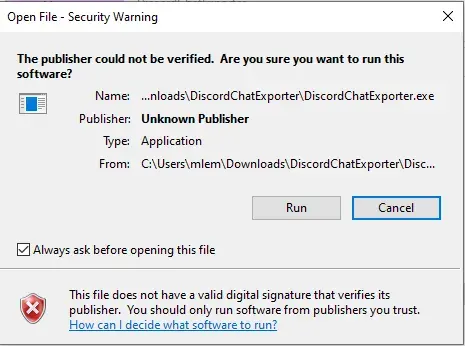
Step 4: Dismiss the scary looking warning as this will show up for any program that which developer can’t afford paying $629 a year.
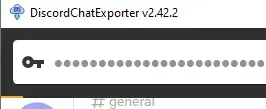
Step 5: Close the welcoming message and you’ll see the application interface:

Prepare an access token. Do not share it to anyone else - treat it the same way as you treat your password.
There are two ways to do it:
Approach 1: use your own access token, will work with any channel you’re able to access, including Direct Messages, but it is a violation of Discord Terms of Service, and therefore your Discord account could get banned for it. Use at your own risk.
Follow the instructions here, which are fairly detailed step-by-step instructions for Chrome, Firefox, and also the desktop app. I’m gonna expand more on approach 2 as I had to figure it out myself, and the current instructions for approach 2 are not really adequate enough. If you go with approach 1, skip down the entire section below, until the “Paste the token in the Token textbox and click the arrow button” section.
Approach 2: create a bot account, invite it to your server, and use its access token. This process assumes you have enough privileges to invite bots to the server (“Manage Server” permission), and therefore, but is also 100% okay as far as Discord’s Terms of Service are concerned. It is also generally safer, as accidental leaking of the token will not risk you losing your user account.
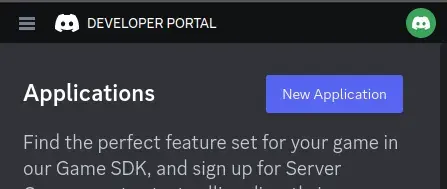
Step 1: Go to the Discord developer portal.
Step 2: Create a new application by clicking the “New Application” button
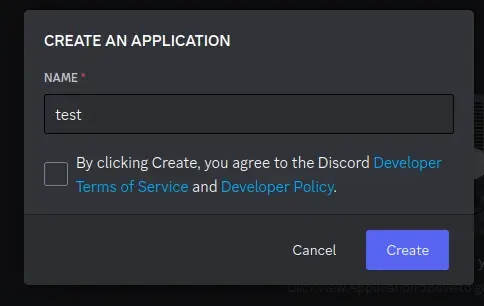
Step 3: Name it however you want, I personally named it “mlemgrab”. Agree to the scary sounding long ass terms of service.
Step 4: Go to the Bot section, scroll down to the “Privileged Gateway Intents”

Step 5: Enable the “Message Content Intent”. We don’t have to worry about the “if your bot is in more than 100 servers” part because our bot will never be in this many servers.
Step 6: Save changes by pressing the green button “Save Changes”

Step 7: Go to “OAuth2” followed by “URL Generator”

Step 8: Select the “bot” scope and then “Read Messages/View Channels” and “Read Message History” permissions
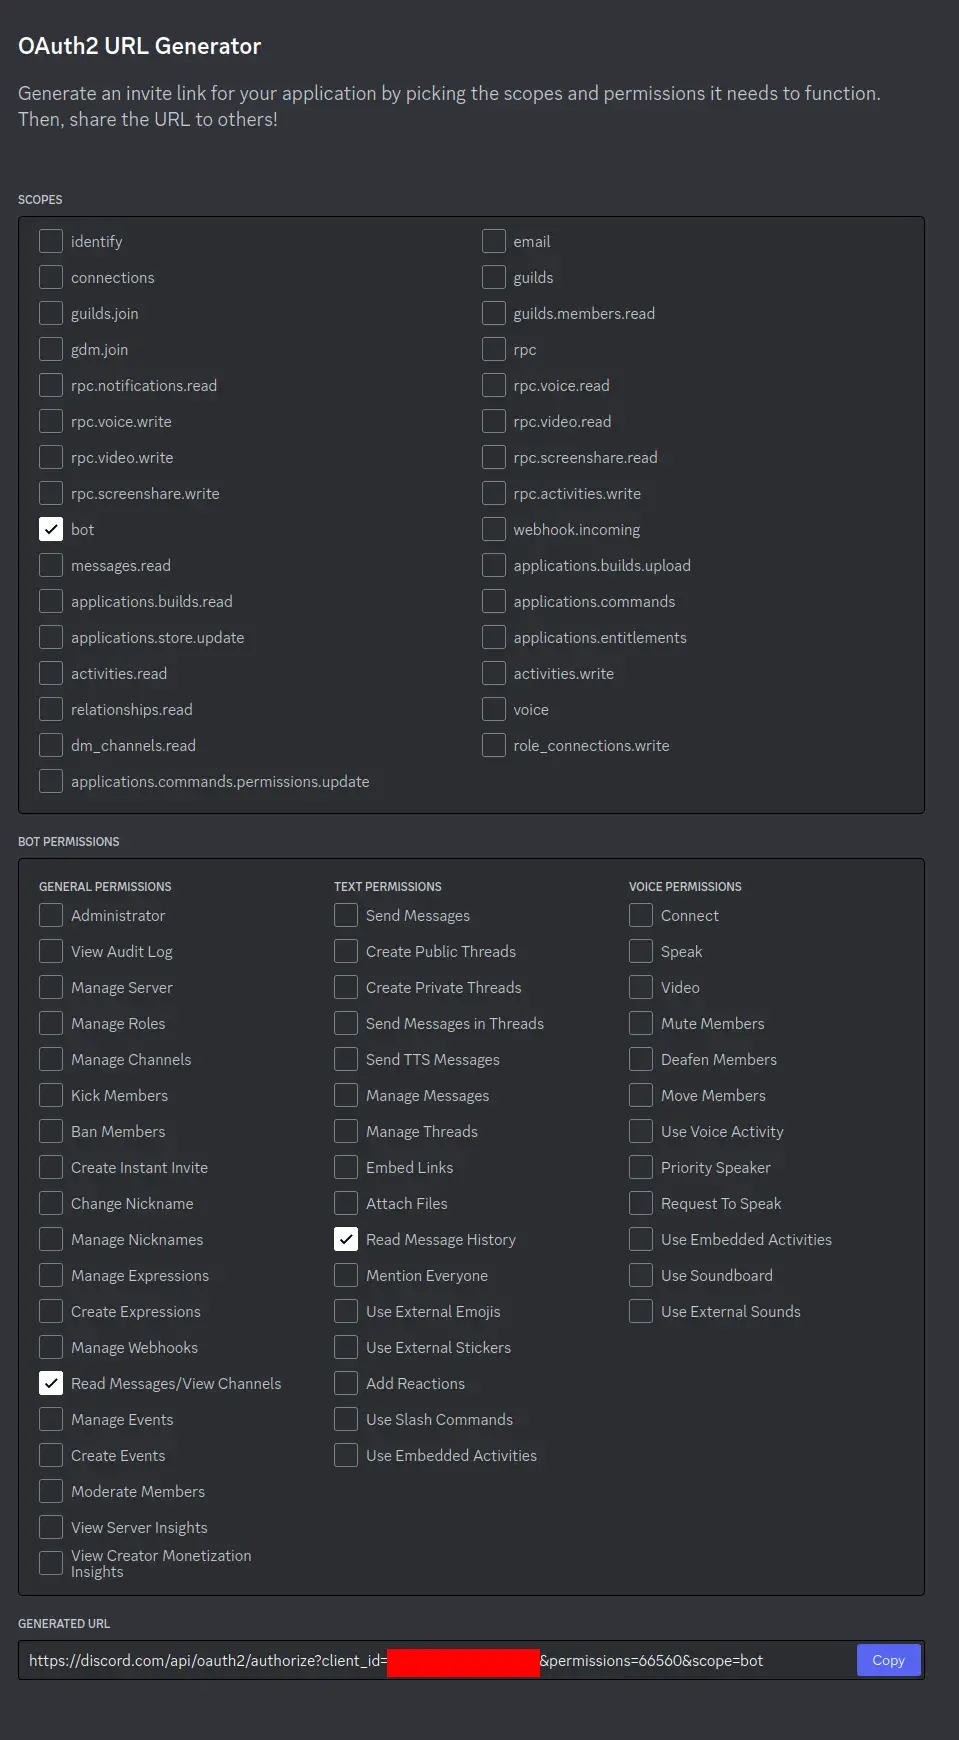
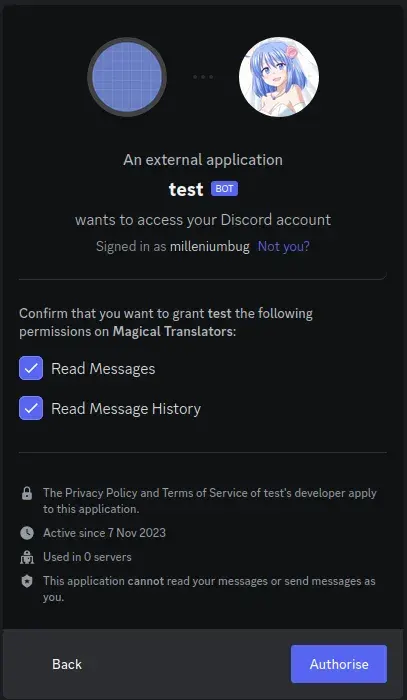
Step 9: Copy the link at the bottom and visit it:
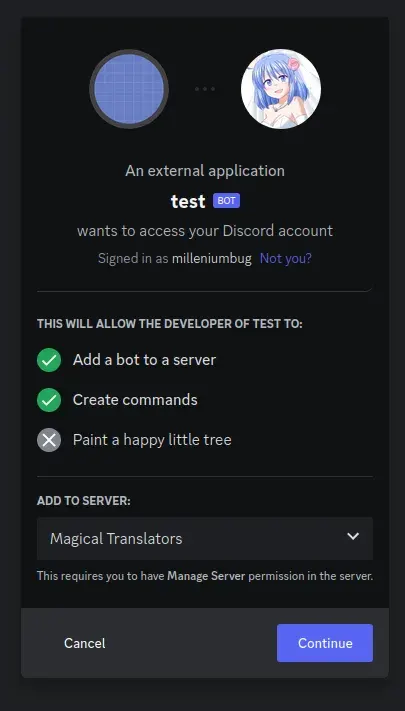
Step 10: Press “Continue”, and approve the required permissions by clicking Authorize. Once you do it, the bot account is on the server.
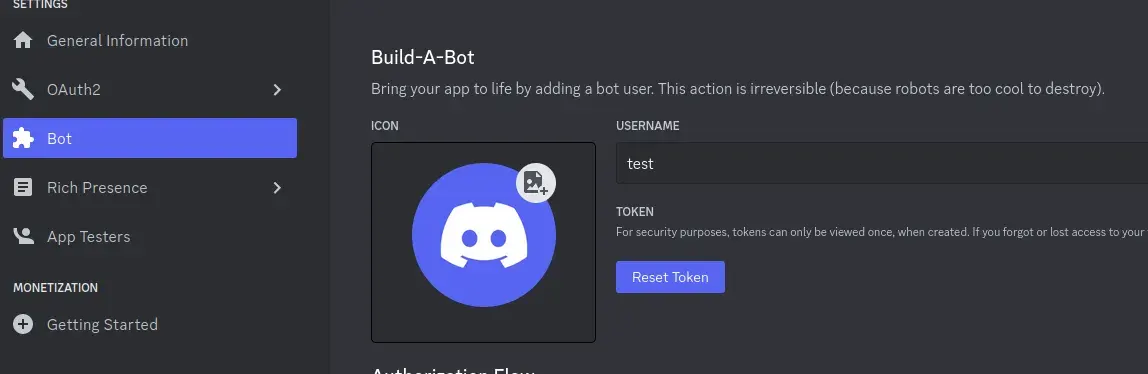
Step 11: Go to “Bot” and click the “Reset Token” button to get the token that will allow you to act (in our case, getting all the messages) using the bot user. If you lose that token, you can click reset again to get a new one.
Paste the token in the Token textbox and click the arrow button

Select the server, and then the channel you want to archive
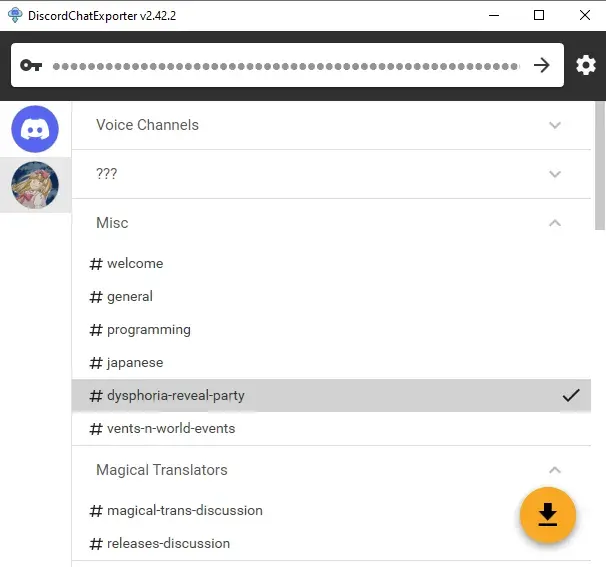
Click the download button on the bottom right
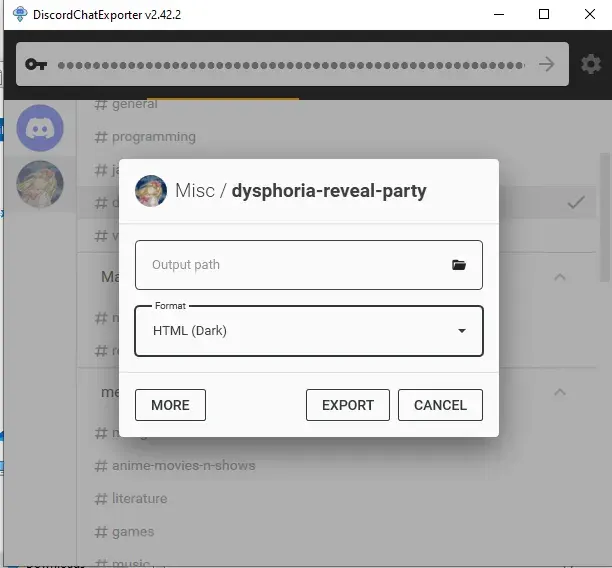
Select where you want to save it, and the format. HTML is good for easy browsing and preview in a web browser, JSON is good for further processing (let’s say someone else later writes a program for importing the conversation elsewhere).
For archivization purposes I recommend saving in both HTML and JSON.
Click “More” for more options.
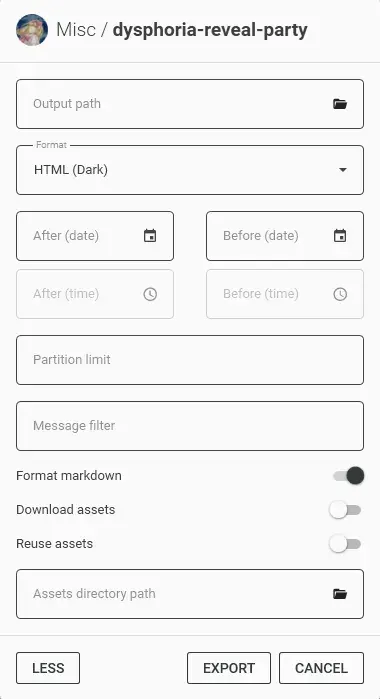
By default the program will not download any message attachments nor avatars or emotes. If you want that, select “Download assets” option. Preferably while also selecting the “Reuse assets” option and selecting a single directory for assets if you want to archive multiple channels.
You can also select the specific time range and using the partition limit - split the archive into several files each containing N messages.
Press Export. Wait. The progress bar will move very slowly.
Once it is done, you should be able to open the HTML file with your web browser.